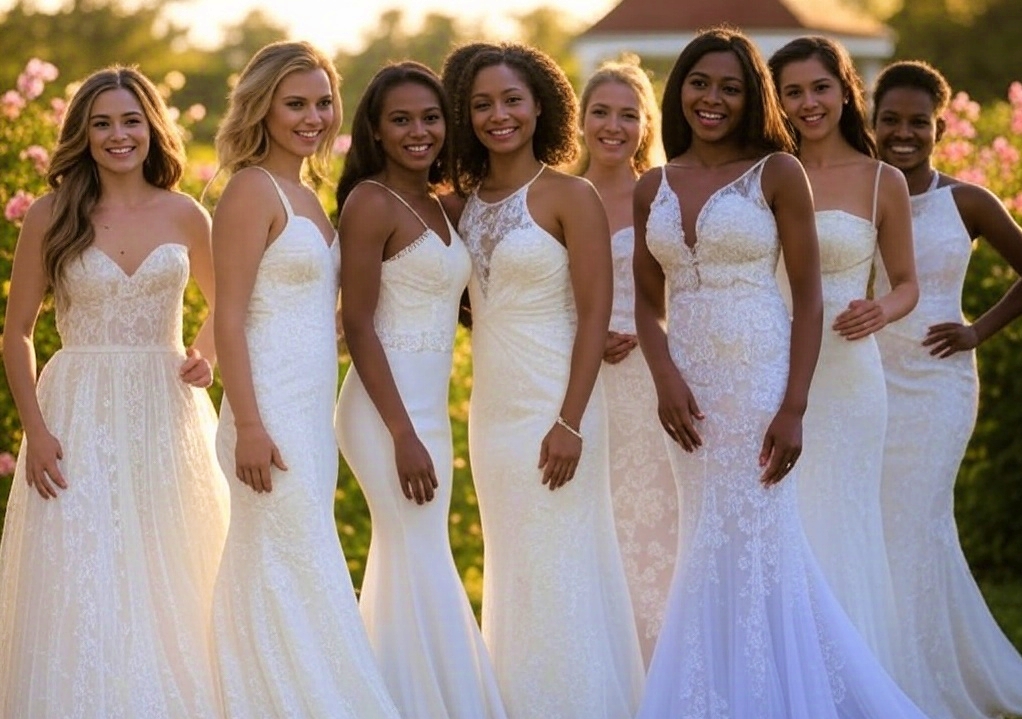
Your wedding day is one of the most special moments of your life, and your wedding dress—along with the right alteration services and pricing—plays a starring role in making it unforgettable.
Finding “the one” is thrilling, but let’s be real—most dresses don’t fit perfectly right off the rack, good alteration can take a dress from great to jaw-dropping, molding it to your body and style so you feel confident and comfortable as you walk down the aisle.
Whether it’s shortening the hem, cinching the waist, or adding a bustle, these tweaks ensure your dress looks and feels like it was made just for you.
In this article, we’ll dive into the most common wedding dress alterations, explain why they matter, and give you a sense of what they typically cost.
Common wedding dress alterations
Hem adjustments
Hemming is all about getting the length of your wedding dress just right. Usually, that means shortening it so it doesn’t drag along the floor as you walk. But every now and then, it might involve adding a bit of length if the dress comes up too short for your liking.

No bride wants to stumble over her gown or watch it sweep up dirt during the big day. A well-hemmed dress lands perfectly, whether you’re going barefoot on a sandy beach or strutting in heels at a fancy venue. It’s a game-changer for those stunning photos too—keeping the fabric flowing smoothly without any awkward bunching.
The process is pretty straightforward. Your seamstress will have you slip on your wedding shoes, then she’ll measure and pin the hem to the exact spot you need. After that, she’ll trim the excess and stitch it up. If your dress has layers—like tulle or lace—she might need to tackle each one separately to make it look seamless.
Bodice adjustments
Bodice adjustments are all about fine-tuning the fit around your bust, waist, or hips. It’s tweaking the fabric—either pulling it in or letting it out—to make sure the dress sits just right on your body.
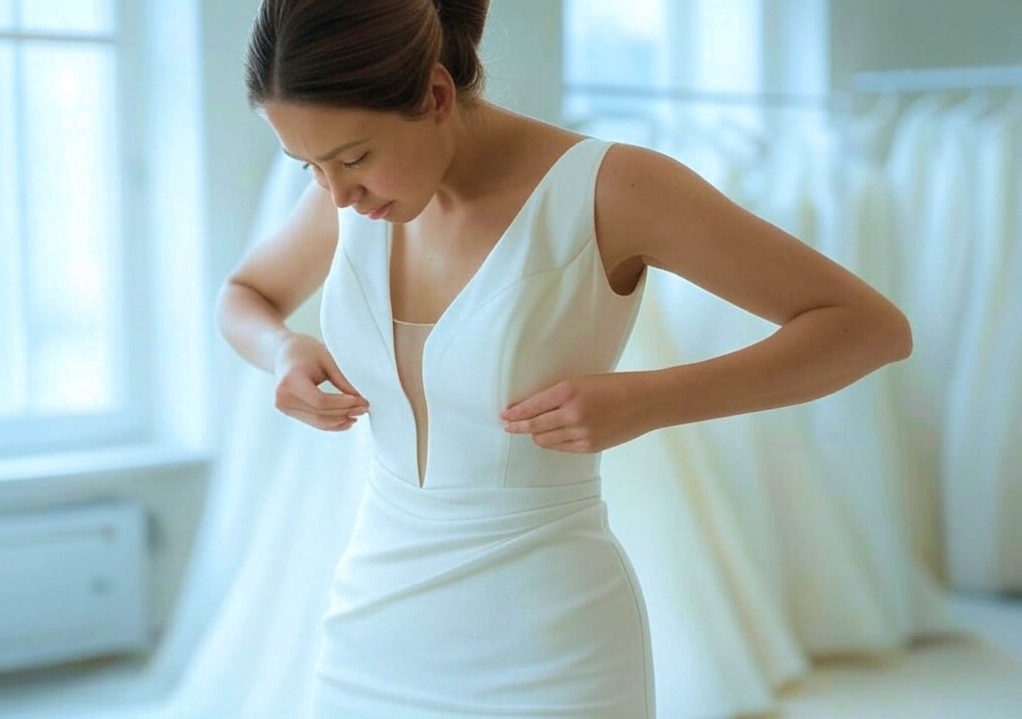
Why bother? Well, a dress that’s too tight can have you feeling squeezed and gasping for air, which isn’t exactly the wedding vibe you’re going for. On the flip side, if it’s too loose, it might slide around or look messy, stealing your confidence. Getting the bodice adjusted means the top part of your dress will hug you perfectly, showing off your figure and keeping everything in place all day long.
Here’s how it happens. The seamstress has you put the dress on, then she starts pinning it where it needs a little more snugness or some extra room. Once she’s got it marked, she’ll rip open the seams, shift the fabric around, and stitch it back up. If your dress has boning or a corset built in, though, it’s not as simple—those extras make the job a bit more complicated.
Adding a bustle
A bustle is that clever trick that lifts your dress’s train and pins it up, turning it into something shorter and way easier to move in once the ceremony’s done.
Let’s be honest—trains look amazing as you glide down the aisle, all dramatic and dreamy. But when it’s time to hit the dance floor or chat with guests at the reception, they can be a real pain. A bustle solves that. You get to keep the wow factor for your big entrance and those must-have photos, then switch to a practical length without swapping outfits. It also saves your train from getting trampled or picking up dirt as the night goes on.
The seamstress makes it happen by adding hooks, buttons, or ties—whatever suits the bustle style you pick, like American, French, or a mix of both. She’ll attach them so the train tucks up neatly. During a fitting, she’ll show you how it works and make sure it’s simple enough for someone—like your maid of honor—to handle when the moment comes.
Neckline changes
Neckline changes are all about tweaking how the top edge of your dress sits—maybe dropping it lower for a bold, sexy feel, lifting it up for a little more modesty, or switching styles entirely, like going from a sweetheart curve to a sharp V-neck.

This alteration matters because the neckline is a focal point—it frames your face and chest, setting the tone for your whole look. Adjusting it can make the dress feel more like you, syncing it with your vibe or even pairing it better with that killer necklace you’ve got planned. It’s also a practical fix if you’re stressing about showing too much skin or wanting a bit more coverage for comfort.
The seamstress gets to work by cutting and reshaping the fabric. Sometimes she’ll add material, other times she’ll take some away, and then she’ll carefully stitch back any details like lace or trim. It’s a delicate job, especially if your dress has fancy embellishments that need to stay intact.
Sleeve alterations
Sleeve alterations are all about tweaking what’s on your arms—whether that’s shortening them, lengthening them, giving them a whole new shape, or even adding sleeves to a dress that didn’t have any to start with.
Why mess with the sleeves? Because they can totally shift your dress’s personality. Chopping them shorter might lighten things up and feel fresh, perfect for a summer vibe. Adding sleeves, though, could be your ticket to extra coverage for a church wedding or a chilly evening. It’s a chance to make the dress fit your comfort zone and nail the style you’ve been picturing.
The process depends on what you’re after. Shortening is simple—the seamstress trims the ends and stitches a new hem. If you’re adding sleeves, she’ll hunt down fabric that matches your dress and attach them so they blend right in. Redesigning, like turning long sleeves into cute little cap ones, means cutting and reshaping what’s already there. Each option takes a steady hand to pull off.
Waist adjustments
Waist adjustments are all about making sure the middle of your dress fits your body like a glove. It’s either pulling the fabric in tighter or letting it out a bit so it sits perfectly around your midsection.

Why does this matter? A dress with a spot-on waist looks sharp and stays put—no slipping up or down as you move. It highlights your shape, whether you’re aiming for that classic hourglass silhouette or just want to feel at ease without tugging at it all day. It’s the kind of tweak that pulls the whole look together.
The seamstress handles it by cracking open the side or back seams. She’ll shift the fabric to match your measurements, then sew it all back up. If your dress has a zipper or corset, she’ll adjust those too, which can add a little more to the job.
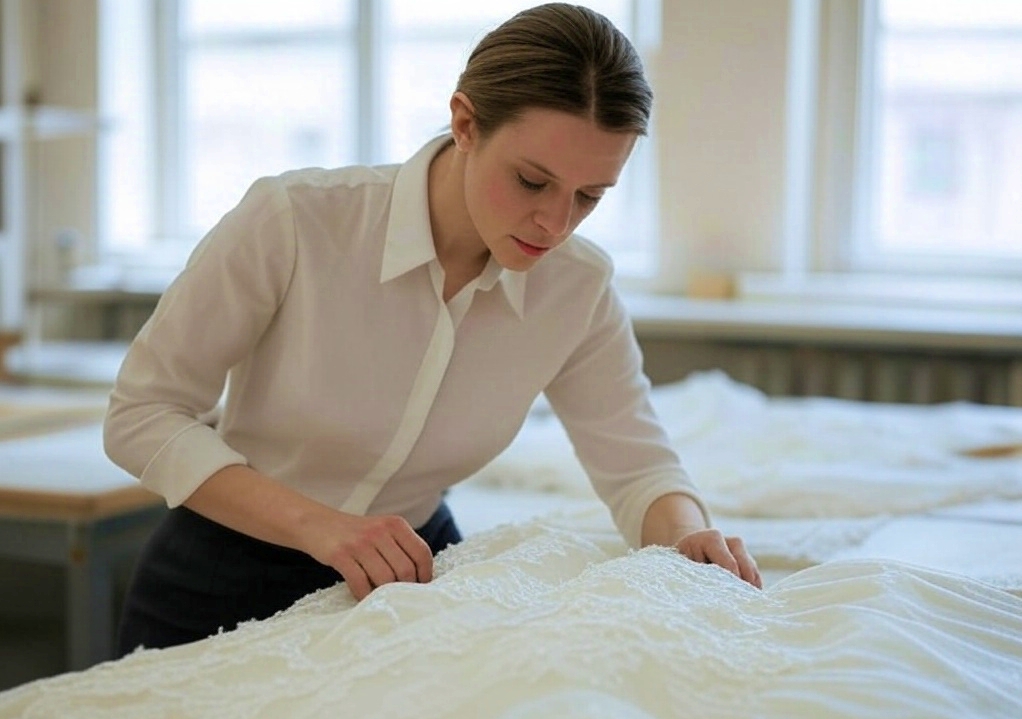
Getting ready for alterations
Here’s how to prep for a smooth process:
- Know your measurements: Have your bust, waist, hips, and height handy to guide the initial consultation.
- Wear the right undergarments: Bring the bra, shapewear, or bustle pad you’ll wear on the big day—fit depends on what’s underneath.
- Bring your shoes: The hem depends on heel height, so wear your wedding shoes to the final fitting.
- Start early: Aim for 3–4 months before the wedding. Most brides need 2–3 fittings, and rushing risks errors or extra fees.
- Be cear: Tell your seamstress exactly what you want—bring pics or sketches if it helps.
- Show Up: Don’t skip fittings. You need to see and feel the changes to approve them.

FAQs
Can I alter a dress that’s way too small or big?
Yes, within reason. Taking in or letting out a couple of sizes is doable if there’s enough seam allowance, but drastic changes might not work. A size 8 dress won’t easily become a size 2—ask your seamstress what’s possible.
How many fittings will I need?
Usually 2–3: one to pin and measure, one to check progress, and a final one to confirm everything’s perfect.
Can I change my dress’s color?
Technically yes, but dyeing is risky and expensive—think hundreds of dollars. Most brides stick to altering fit, not color.
What if I need tweaks after the final fitting?
Minor fixes (like a tighter strap) are usually fine, but big changes might cost extra and need more time.
Is it okay to alter a vintage or heirloom dress?
Absolutely, but it needs a gentle touch. Look for a seamstress who’s handled old fabrics before—they’ll know how to avoid damage.
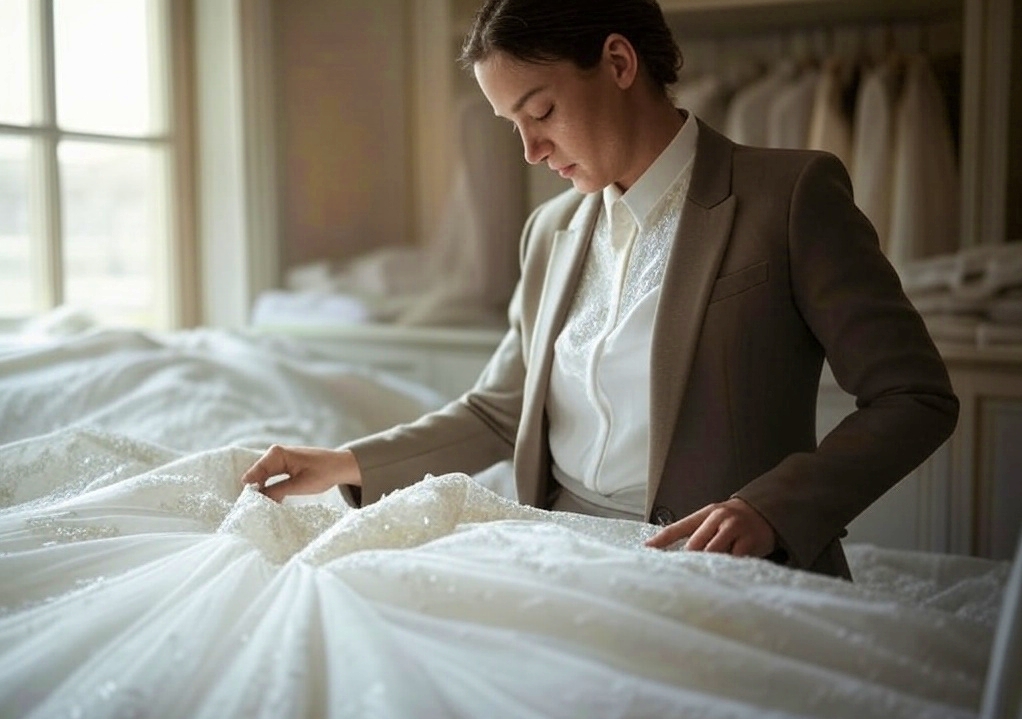
Caring for your dress post-alterations
After the work’s done, keep your dress pristine:
- Store it right: Hang it in a cool, dry spot away from sunlight, using a breathable garment bag or acid-free tissue.
- Avoid spills: Be careful with food or drinks during fittings—stains are a nightmare to fix last-minute.
- Handle with care: Lift it by the hanger or inner lining to avoid snags or tears.
- Cleaning: If it gets dirty post-alterations, take it to a pro cleaner who specializes in wedding gowns.